Build a 3D Wooden Owl Clock Puzzle That Really Ticks
3D Wooden Owl Clock Puzzle Kit with Real Timer: A Hands-On Build That Becomes a Working Clock
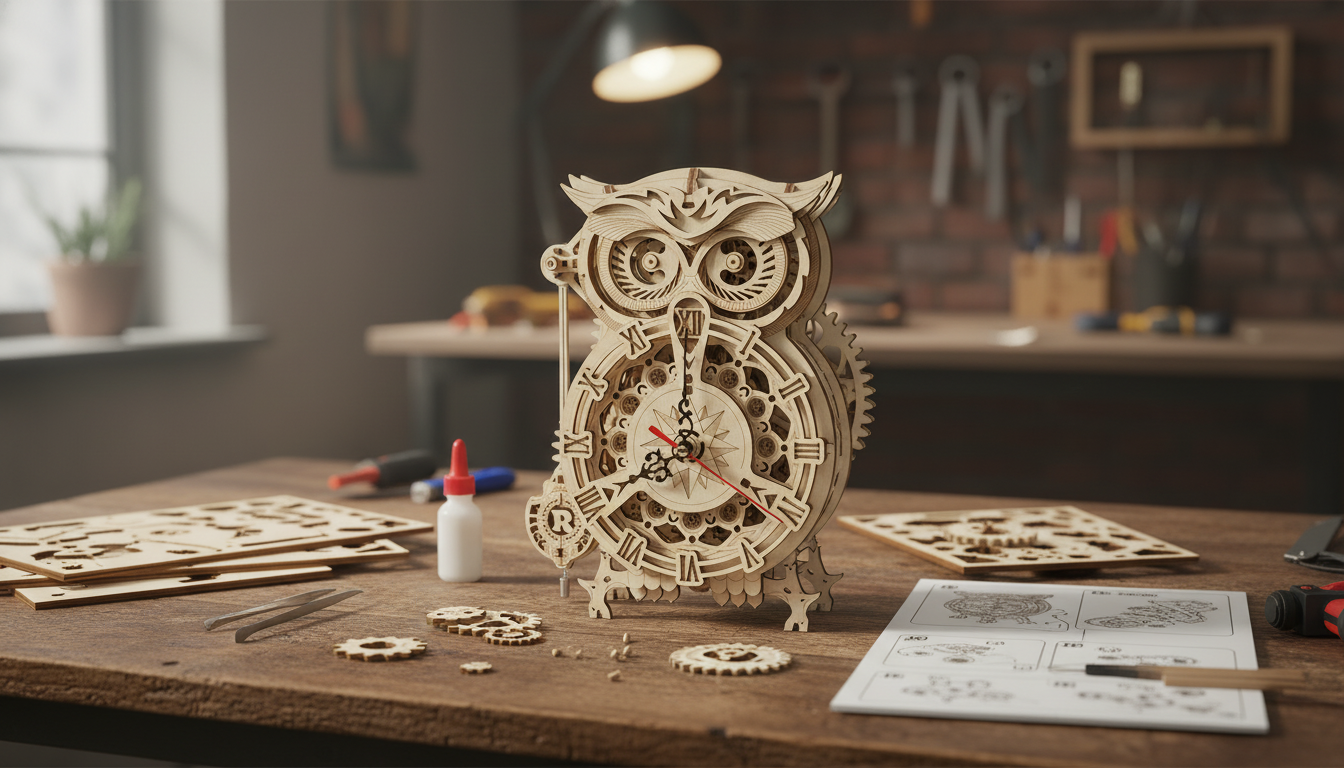
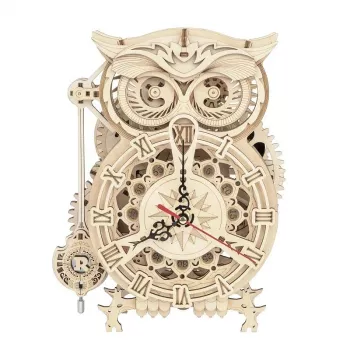
A wooden model that doesn’t just look good on a shelf—this owl-themed 3D puzzle kit assembles into a functional clock with a real timer mechanism. It’s equal parts craft project, brain-teasing build, and finished décor, designed for makers ages 14+ who want a satisfying, display-worthy result.
What This Kit Is (and Why It’s Different From a Standard 3D Puzzle)
Most 3D wooden puzzles end with a display piece: fun to build, then it simply sits. This kit adds a practical twist—when you’re done, you’ve created an owl-shaped wooden clock that’s meant to keep time.
- A working finish: It builds into an owl-themed wooden clock that functions after assembly, rather than a static model.
- Craft + utility: The steps feel like a mechanical-style build, but the result is something you can actually use on a desk, shelf, or nightstand.
- Made for careful builders: It’s best suited to teens and adults who enjoy following diagrams, aligning parts precisely, and taking their time.
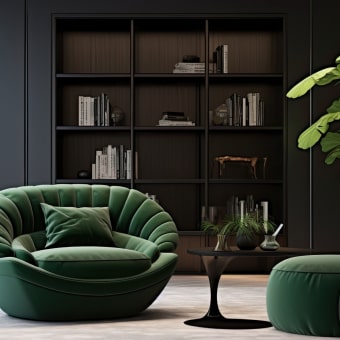
- Décor with personality: The owl design reads playful in a bedroom, yet polished enough for an office shelf or studio corner.
If you’re looking for the product page, you can find it here: 3D Wooden Owl Clock Puzzle Kit with Real Timer – Creative DIY Clock for Ages 14+.
Quick Specs at a Glance
This kit is designed to feel like a real project—manageable, but not “instant.” Expect small parts, a sequence of steps, and a build process where accuracy pays off.
- Recommended age: 14+ due to smaller components and the need for steady, patient assembly.
- Gift-ready: A creative DIY option for birthdays, holidays, graduations, and maker milestones.
- Solo or shared: Works well for individual builders or as a shared project (parent/teen, partners, or friends).
Build & Use Overview
| Feature | What to expect | Why it matters |
|---|---|---|
| 3D wooden assembly | Interlocking pieces form the owl clock body | Hands-on build with a rewarding final display |
| Real timer/clock mechanism | Clock function after assembly | Finished model is practical, not just decorative |
| Age guidance | 14+ recommended | Small parts and precision steps require focus |
| Finished purpose | Desk/shelf décor + functional clock | Adds daily utility to a creative project |
Build Experience: How Challenging Is It?
This is the kind of build that rewards patience. Instead of rushing to the finish, the most enjoyable approach is steady progress—letting each sub-assembly sit correctly before moving to the next.
- Expect a focus-first build: You’ll do best with careful alignment, steady pressure when fitting parts, and frequent reference to the instructions.
- Pacing helps accuracy: Short sessions (even 20–40 minutes at a time) can reduce errors, especially if you’re new to wooden model kits.
- Precision moments are normal: The key points tend to be keeping assemblies square, ensuring pieces seat fully, and avoiding forced fits that can stress the wood.
- Set up for success: A flat surface, good lighting, and a small tray for organizing pieces make the build feel calmer and more controlled.
If you enjoy the “slow craft” mindset—build, check, adjust, continue—this kit fits that rhythm beautifully.
Getting a Reliable Working Clock After Assembly
The satisfying part of a clock puzzle kit is watching it turn from a model into a timepiece. To keep it running smoothly, the final steps deserve an extra minute of attention.
- Check for twist before installing the mechanism: Confirm the body sits stable and isn’t skewed. Even a slight twist can affect hand clearance.
- Make sure the hands move freely: After mounting, gently confirm the hands don’t rub the face or decorative elements. A tiny alignment tweak can prevent stopping.
- Choose a stable display spot: A firm desk or shelf reduces vibration and accidental bumps that can shift the hands.
- Battery care matters: If the mechanism uses batteries (common in many clock movements), keep spares on hand and follow safe handling guidance—especially with smaller batteries. For safety best practices, see the CPSC button battery safety guide.
And if you ever want to nerd out on how time is measured and maintained at the national level, the NIST Time and Frequency Division is a fascinating reference point for the science behind accurate timekeeping.
Where It Fits Best: Décor, Study Corners, and Gift Moments
This owl clock tends to “belong” wherever people keep a few meaningful objects—places that benefit from warmth, texture, and a touch of charm.
Care, Display, and Long-Term Upkeep
Related Picks to Pair With the Build
-
Make the build itself the gift:
3D Wooden Owl Clock Puzzle Kit with Real Timer – Creative DIY Clock for Ages 14+
is ideal for anyone who enjoys careful assembly and wants a finished piece that stays in daily rotation. -
Keep the momentum going afterward:
Zen-Savvy Savings Checklist: The Japanese Way to Build Wealth with Calm and Clarity
makes a neat companion activity—simple, checklist-driven, and well-suited for organizing a workspace or routine after the last puzzle piece clicks into place.
FAQ
How long does it usually take to assemble a wooden clock puzzle like this?
Build time varies by experience and pace, but many makers finish in a few focused sessions. Taking breaks to re-check alignment often leads to a smoother assembly and a better-running final clock.
Is the clock functional enough for everyday use or mostly decorative?
It’s designed to function as a real clock once assembled, not just as a display model. For best everyday reliability, keep it on a stable surface and ensure the hands have clear, friction-free movement.
Is this suitable for a 14-year-old working independently?
Yes—14+ is a solid guideline for independent building if the teen is patient and comfortable following diagram-style instructions. First-time builders may still appreciate light supervision for trickier steps and small parts.


Leave a comment