Portable Podcast Studio Kit: Condenser Mic + Mini Mixer
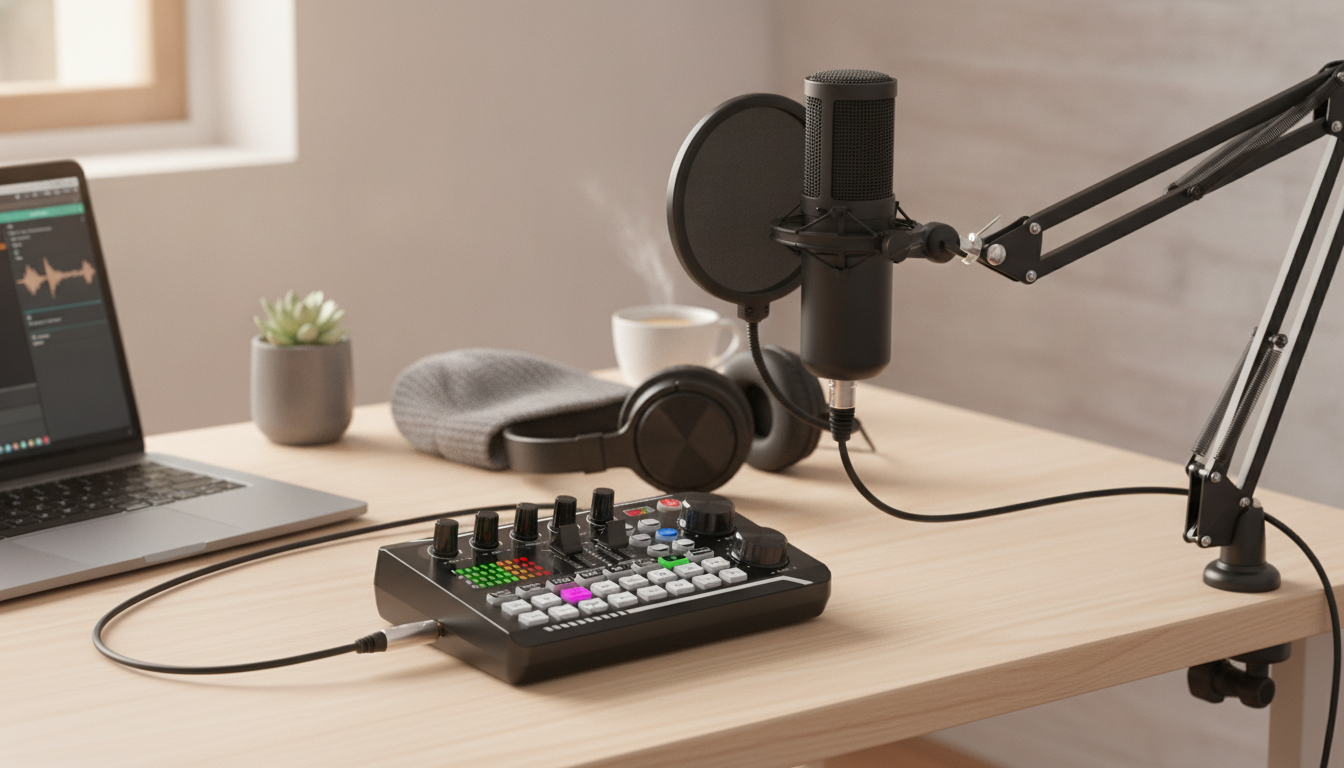
Portable Podcast Studio Kit with Condenser Mic & Sound Mixer for Live Recording
A compact recording setup can make it easier to capture clear voice, manage levels, and add basic sound shaping without hauling a full desk of gear. This kit pairs a condenser microphone with a small mixer-style interface for live recording, streaming, and quick mobile sessions—useful for beginners and on-the-go creators who want a simple path from voice to finished audio.
What This Kit Is Designed To Do
- Combine voice capture (condenser microphone) and hands-on control (mixer-style interface) in one portable setup.
- Support live recording workflows where quick level adjustments matter (speech, interviews, live rooms, streaming).
- Reduce friction for new podcasters who want a plug-in-and-go style starter bundle.
- Provide a compact footprint for small desks, shared spaces, or travel kits.
What’s Typically Included in a Portable Studio Bundle
Portable recording bundles are built to cover the basics—mic capture, level control, and device connection—without requiring a full rack of gear.
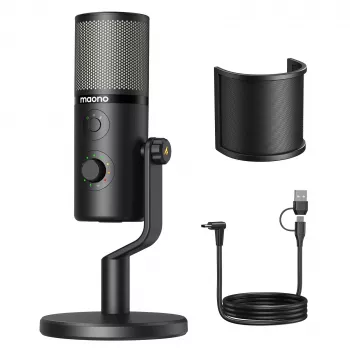
- Condenser microphone for detailed vocal pickup (best in controlled rooms with lower background noise).
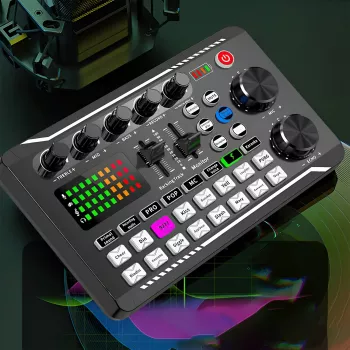
- Sound mixer or audio interface component for gain, monitoring, and basic mixing controls.
- Cables/adapters for connecting mic, mixer, and a phone/tablet/computer (exact connectors vary by version).
- Mounting or handling accessories may be included depending on the package (check the product page for the current box contents).
For a quick refresher on why condensers sound detailed (and why they can be more sensitive to room noise), see Shure’s overview of dynamic vs. condenser microphones.
Key Features That Matter for Live Recording
Gain control and level metering
Live voice can jump from calm narration to laughter or emphasis in seconds. Physical gain control and basic metering help prevent clipping and keep your recording consistent.
Headphone monitoring
Monitoring in real time helps catch popping, hiss, intermittent cables, or a noisy background before it becomes a “reshoot” problem.
Noise and room control
Condenser microphones are sensitive, so the room becomes part of the sound. A quiet space, soft surfaces, and stable mic placement often improve clarity as much as any knob or setting.
Power and connectivity
Before recording day, confirm how the microphone is powered and how the mixer connects to your device. If you’re using a phone or tablet, check whether adapters are required and test them ahead of time.
Portability trade-offs
Smaller mixers and compact controls prioritize convenience. That can mean fewer routing options than a full-size interface, but faster setup for everyday voice recording.
Quick Setup for Clean Speech (Practical Steps)
- Choose a quiet spot: Soft furnishings (curtains, rugs, couch cushions) reduce echo and harsh reflections.
- Mic placement: Start 6–8 inches from the mouth and slightly off-axis to reduce plosives (hard “P” and “B” hits).
- Set gain in order: Speak at normal performance volume, then add a louder phrase. Raise gain until peaks are strong but not distorting.
- Monitor through headphones: Listen for hum, buzzing, and clipping; reseat cables and lower gain if needed.
- Keep consistent distance: Moving closer/farther changes tone and loudness, making editing harder and leveling less predictable.
If you’re new to recording workflows, Audacity’s recording guide offers a clear walkthrough of monitoring and capture basics that apply to many apps—not just Audacity.
Recommended Starting Settings for Voice
- Aim for stable levels: Avoid peaks that hit the red; leave headroom for laughs and emphasis.
- Use gentle processing: Light EQ or noise reduction can help, but heavy effects can make speech sound thin, harsh, or unnatural.
- Record a 20-second test: Include silence, normal speech, and a louder phrase; adjust before the real session.
- Save a repeatable template: Once levels are reliable, reuse the same physical setup and settings each time for consistent episodes.
Fast Voice Checklist (Baseline Targets)
| Item | Baseline | Why it helps |
|---|---|---|
| Mic distance | 6–8 inches, slightly off-axis | Reduces plosives and keeps tone consistent |
| Room sound | Soft surfaces nearby | Cuts echo and improves clarity |
| Monitoring | Closed-back headphones | Catches issues early (buzz, hiss, clipping) |
| Peak headroom | Avoid red/clipping | Prevents distortion that cannot be fixed later |
| Test recording | 20 seconds with silence + loud phrase | Verifies noise floor and peak behavior |
Where This Kit Fits Best (Use Cases)
- Solo podcasts: Straightforward voice capture with minimal setup time.
- Two-person interviews (same room): Workable when paired with careful placement and controlled room noise (additional mic support may vary by configuration).
- Live streaming and social audio: Quick access to level control and monitoring when things get energetic.
- Remote recording backup: A compact option to keep as a secondary setup when traveling.
Limitations to Plan Around
Care, Storage, and Travel Tips
Shop In-Stock Options
- Portable Podcast Studio Kit with Condenser Mic & Sound Mixer for Live Recording ($33.82)
- Lightweight 3L Cycling Backpack for Running, Hiking & Outdoor Sports ($38.67) — a compact carry option for cables, adapters, and small recording accessories on travel days.
FAQ
Can a condenser microphone be used in a noisy room?
Yes, but it will pick up more background sound than many dynamic mics. Reduce noise sources (fans, keyboards), add soft furnishings, keep the mic close to the speaker, and monitor with headphones to confirm the noise floor.
How do levels get set to prevent distortion during live recording?
Start with the performer speaking at normal and loud emphasis levels, raise gain until the loudest moments stay below clipping, and leave headroom. Use headphone monitoring and do a short test recording before going live.
Will this work with a phone or laptop?
Often yes, but compatibility depends on the included connectors and whether adapters are required (USB/Lightning/USB-C/3.5 mm). Confirm the connection type listed on the product page and plan for any needed adapters.











Leave a comment